What's cooking? Here's a sneak peak of what you may find soon on the blog.

Showing posts with label desserts. Show all posts

12.17.2010

Pecan Puffs


It's amazing what a little snow can do.  Today was the first real snow of the winter here in Northern Virginia.  By "real snow" I mean just a couple of inches.  It was enough, though -- enough to get a 2 hour early release from school for thousands of giddy kids and their even more ecstatic teachers. 
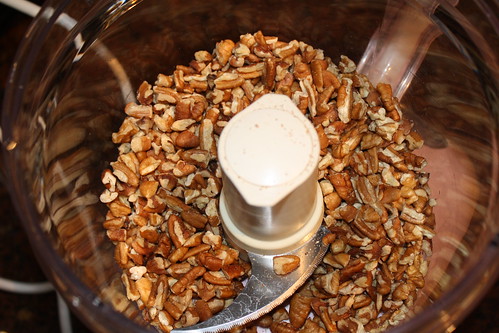
2 cups of pecans, from a highway pecan stand in Lamont, FL
When I arrived home today, I practically skipped with glee down my snowy sidewalk, filled with anticipation for holiday productivity.   The snow was just what I needed to get me in the holiday spirit.  As if a switch had magically been turned on within me, I instantly gathered butter, pecans and other baking necessities.  I lit a fire, plugged in the Christmas lights and turned on some festive tunes.  Recharged with optimism, I added four  tasks to my to do list for the day.
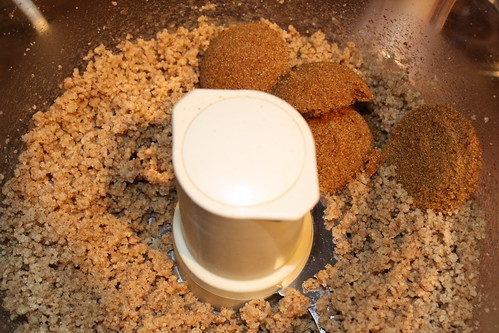
Finely ground pecans with 4 cute tablespoon-sized clumps of brown sugar

It's hard to imagine that just the day before I was sniffly, lethargic and nursing a cold on the couch.  Mindlessly surfing the television, I stopped to watched "Sarah's Holiday Party" on HGTV.  How had I not discovered this woman before? I was impressed and slightly envious of her gorgeous home, modern style, and seemingly endless amounts of time and money to prep for a fabulous holiday shindig.  That's beside the point... 
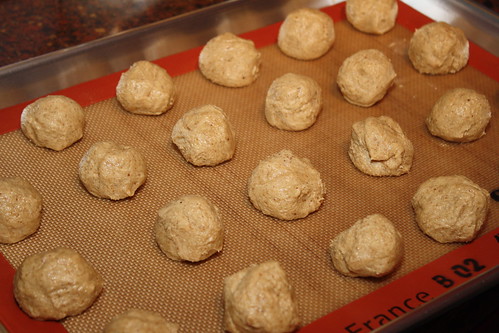


More to the point were these Pecan Puffs.  Sarah made them for her holiday party and I immediately decided I needed to make them ASAP. This vintage recipe combines some of my favorite ingredients: butter, pecans, and a heavy dusting of powdered sugar.  Need I say more?  Motivated by my snow-induced burst of energy, I immediately began prepping for my own batch of Pecan Puffs. 
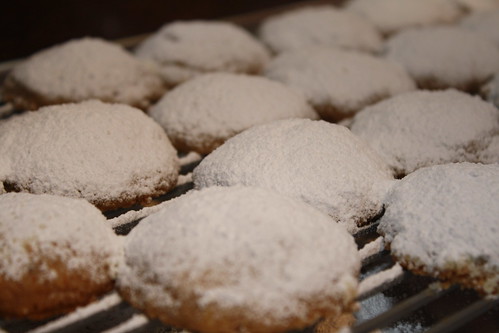


These wintery puffs couldn't be easier to make. The ingredients are simple -- just butter, pecans, brown sugar, cake flour, and vanilla.  Even better, you can quickly whip up the batter in a food processor.  When you take them out of the oven you top them off with a thick dusting of snow, er, powdered sugar.  The sugar melts slightly into the warm cookie and helps to add a little sweetness.  Once the cookies have cooled, you  top them off with a fresh dusting of sugar.  


Let it snow, let it snow, let it snow!

You can get the recipe (and directions for her other holiday craftiness) on Sarah's facebook fan page.

(In the interest of full disclosure, I must admit that these cookies, sadly, didn't live up to my expectations.  I'm not sure what I expected, but they didn't quite hit the spot. Mine didn't turn out as puffy as Sarah's.  I knew the  cookies would be very crumbly and then instantly melt in my mouth.  However, I wasn't prepared for exactly how delicate they actually were.  The melt in my mouth was good...but the stick to the roof of my mouth wasn't as great.  Overall, the puffs are good and remind me of cookies I had eaten long ago. They're very close to a pecan sandy. On the upside, they have an heir of nostalgia about them and their powdery white tops certainly remind me of snowy holidays.)

9.22.2010

Homemade Apple-Pear Sauce


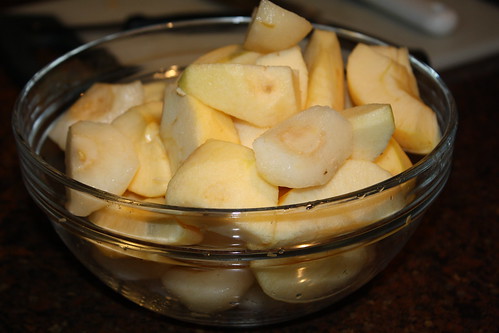
This recipe was originally going to be an apple crisp.  It's been one of these weeks, however, when nothing has gone quite as planned.  After several days of neglect, the lovely gala apples on my kitchen counter had begun to look a bit homely.  Since the apples were turning to mush, I decided to just go with it and make applesauce instead.  Spying some equally neglected Asian plums, I threw them into the mix as well.

The result was a simple, wholesome delight.


Now that we are in the throws of apple season, I encourage insist that you make your applesauce.  It's quick, easy and super versatile.  You can use any kind of apple (or a mixture) andt can adjust the seasoning and sweetness to your own preferences.  Best of all, picking your own apples and making apple sauce makes a great memory!


The recipe below can be easily doubled.  It will keep about a week in the refrigerator or up to six months in the freezer.

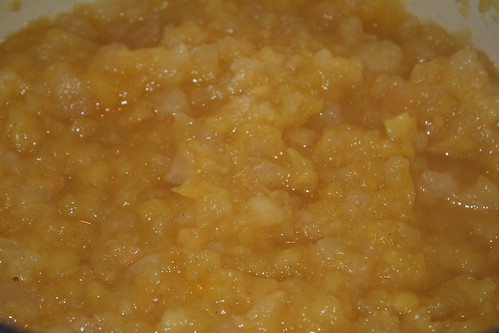
Chunky -- just the way I like it!  Feel free to mash it up more or run it through a food mill to get a smoother sauce.


Homemade Apple-Pear Sauce

You'll need...
3 pounds total of apples and pears  (I used about 2 pounds of apples and 1 pound of pears)
1/2 cup of water
2 Tbsp lemon juice
pinch of salt
sugar, to taste (I used about 2 Tbsp)
cinnamon, to taste (optional) -- I used just a few shakes

Directions...
Peel, core and roughly chop the apples and pears – sprinkling with the lemon juice as you go, to avoid browning.

Add the water and apples/pears to a large pot on the stove.  Bring them to a boil over medium-high heat and then simmer for 10-20 minutes, until the apples/pears are soft.   (If you're using only apples, the time may be closer to only 10 minutes.  I found that the pears took longer to soften -- depending on how ripe they are.)

Once the apples and pears are soft, add the salt, sugar and cinnamon.  Stir to allow the sugar to dissolve and then mash the apples/pears, using a potato masher.  I like my applesauce a little chunky, so I didn't mash them too much.

Taste the sauce and add more sugar and/or cinnamon if you think it needs it.

That's it! So easy.

Now that I've picked apples and  made applesauce I feel like fall has officially arrived.  Let the leaf color changing begin!

8.23.2010

English Tea Scones


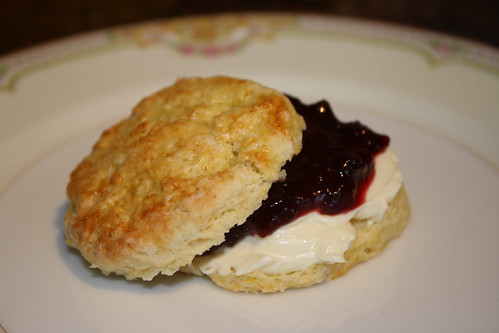
I'm not sure exactly when my fascination with the British began.  I'm sure my mom and Jane Austen had something to do with it. There was a lot of Pride and Prejudice and Enchanted April in my upbringing , with a little Keeping Up Appearances thrown in for good measure.  There were also a lot of fake British accents, tea parties and, of course, scones.  Sometime in high school I taught myself to make scones and they remain one my absolute favorite things to bake.  Ever.


This was a plain batch -- plain, but ever so tasty

I really don't need a good excuse to bake scones.  Friends visiting? Time to bake scones.  Ladies' get together?  Must bake scones.  It's Saturday...scones!  So, for Gretta's bridal shower, what did I offer to bring?  Well, scones, of course!  I was delighted that they turned out to be such a hit, especially considering that I mindlessly left my favorite scone accompaniment,  my "faux Devonshire cream", at home in the refrigerator.  tsk, tsk, tsk...


How sweet!  I added dried tart cherries to the heart-shaped scones.  I only wish I had added more!

As an aside, I almost always make scones by hand.  A couple of times I have tried using the food processor to cut in the butter and combine the dough, but it's just not the same.  I don't mean the taste and texture aren't the same --  those don't really seem to suffer.  It the experience for me that changes.  When you make scones by hand, the smell of butter billows up as you're cutting it into the flour. Then, after folding in the liquid ingredients, I love to plunge my hands into it the bowl and gently knead the crumbly mess into a uniform dough.  A food processor just takes too much of the pleasure away...and far too much of the necessary mess.  While preparing the dough in the food processor will shave off a few minutes, you can still whip up a batch rather quickly, especially once you get the hang of it.


I love how these herbs serve double duty.
They are both a beautiful table decoration
and a very useful party favor!


The recipe below is a basic tea scone recipe.  It's wonderfully adaptable and I'll share some of the small ways I sometimes change it up. 


8.11.2010

Summer Berry Cobbler

Not long after first meeting, my good friend, Ali, and I discovered that we both love to be in the kitchen. We'd talk excitedly about the great meals and desserts we planned to make and then would hash out all the "shoulda, coulda, wouldas" afterwards. At some point, it came about that we should (one day) open up a store front together. The exact contents of this hypothetical store have changed over the years. Sometimes we plan to make it a bakery, or perhaps a bookstore / bakery (so I can have story time) and other times it's a cupcakery. Lately, though, I've thought it should be a tea house so I can spend my days baking scones and pretending to be British.

This grand scheme of ours has taken a bit of a set back, now that Ali has recently moved 2,881 miles away (but who's counting?). Regardless, we still chat regularly about our latest kitchen adventures and baked goodies. Last week Ali told me about the berry cobbler she made, using berries from a local farmers' market. It sounded fabulous and so I asked her to share it here on my blog.

I can't wait to try it myself...
________________________

I am so excited to make my first contribution to Leslie's blog! Having a food blog is always something I have wanted and she so graciously has let me contribute to hers. I thought that I would post one of my favorite summer desserts, Summer Berry Cobbler. I love farmers markets and getting fresh produce, so when we went to the one at the Olympic Sculpture Park in Seattle, I found this gorgeous flat of summer berries. This recipe is an easy way to include all of these wonderful berries (plus the blueberries I already had in the fridge). I couldn't wait to get home and get started!

What is not to like about some freshly cut berries, cinnamon, lemon juice, and zest all mixed together?

Then to add more yumminess, (I hope that is a word) you dollop the berries with homemade scone mix. The original recipe has you put blueberries in the scone mix, but I liked it better without them.

Right before it gets ready to go in the oven... it already looks so good! The cook time says 25-35 minutes. I would go closer to the 35, since the scone mix can take a little longer to cook. When I've cooked it in less time, it has come out a little doughy, so just make sure that you cook it long enough!

All done and ready to eat! I like to make a little fresh whipped cream to top mine off. What a great addition to a summer day!

My daughter thought it was pretty tasty too! Here is the recipe, enjoy!

8.09.2010

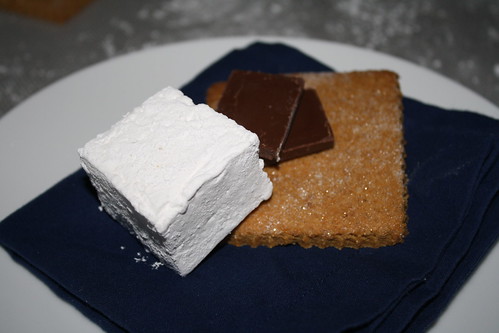
Marshmallows - Happy S'mores Day


Who doesn't love s'mores?  Gooey marshmallow, crunchy graham crackers and warm, melted chocolate...I'm sold! A few years ago I was on a real s'mores kick after caving to some sneaky marketing at Trader Joe's. They had marshmallows, cinnamon grahams and chocolate cleverly shelved together. I then proceeded to make s'mores in the toaster oven as a daily snack...until I ran out of the necessary ingredients. 

A couple of weeks ago I read in a magazine that August 10 is "National S'mores Day".  That little bit of trivia was all I needed to reignite my craving for these campfire delights.  Fortunately, thanks to my trusty toaster oven, no campfire is required.


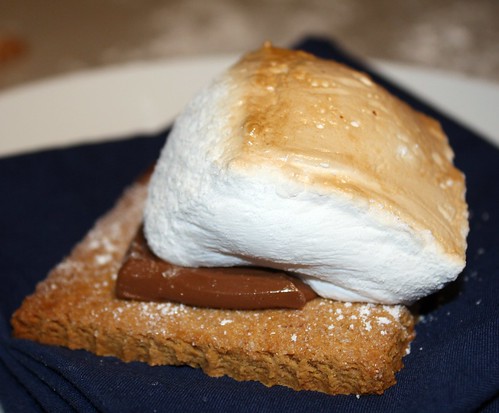
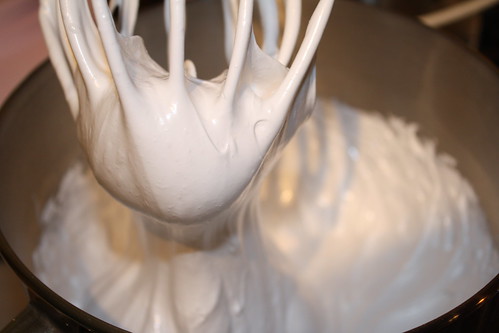
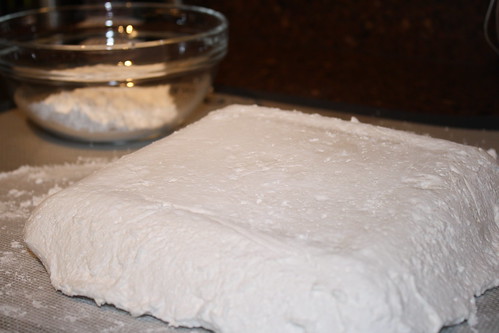
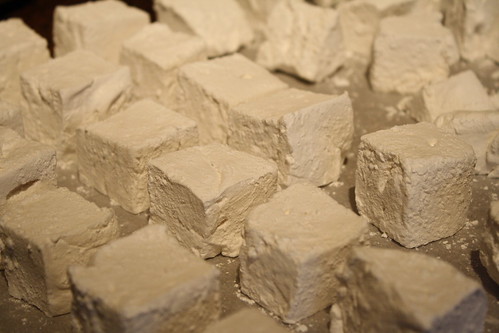
To make these s'mores extra special, I made my own marshmallows and graham crackers using a recipe in my new favorite cook book: Jam It, Pickle It, Cure It and Other Cooking Projects by Karen Solomon.  (I'm not going to include the graham cracker recipe here, but let me know if you want it.)  The marshmallows take the most time, about 2 hours from start to finish, and you will need a candy thermometer.  There is a lot of "down" time involved, though, as you wait for the syrup to boil on the stove and later when the stand mixer miraculously turns the gelatin and syrup into bright white marshmallow fluff. These down times provided the perfect opportunity to work on the grahams, which take about an hour from start to finish.

Homemade s'mores make for a fun (and sticky!) afternoon cooking project.  The grahams have such a comforting, homey quality -- just make sure not to make them too thick -- and the marshmallows are so soft and fluffy that you'll never want those dry tubes from a bag again!

Happy National S'mores Day -- why not celebrate by making your own?


8.01.2010

Zucchini Bread

Zucchini Bread

To me, zucchini bread is a comfort food.  It's like a plane ticket home in a pan.  I remember eating it a lot as a child and have always loved this slightly sweet, spiced bread with crunches of pecan tucked inside.  When I went away to college, I remember calling home for just a  few recipes -- and my mom's zucchini bread was one of them.

Last week we received several summer squash in our CSA shipment.  Since I was home alone for most of the week, I needed a quick and easy way to use up a lot of zucchini.  Zucchini bread was a great option.  It's super easy and doesn't even require you to plug in a mixer!

Lots of people joke that zucchini bread is a "healthy" snack -- after all, it has vegetables, right?!  Of course, no quick bread that I've ever seen is exactly a poster child for nutrition, but my version of zucchini bread does a lot to beef up the nutritional value.  I've included the regular version below with notes about how I often adapt it so that I can eat my favorite quick bread with a clearer conscious.

One last thing -- the hardest part of this very easy recipe is grating the zucchini.  You can do this in a snap if you have a food processor with a grater attachment. You'll have perfectly grated zucchini in...oh, about 5 seconds.  Funny thing is, I actually enjoy grating the zucchini by hand for this recipe.  I guess it just adds to the nostalgia...and the healthiness factor, since it gives my arm a nice workout!

Here ya go...


7.29.2010

Vanilla Bean Cream Cheese Frosting


Wow. Yum. Double yum.

I have to say I've outdone myself with this one.  I'm usually pretty modest about my cooking and baking.    Always my own worst critic, and that sort of thing.  With this frosting, though, I'm feeling a little proud.  Just a wee bit.

I was making some vanilla bean cupcakes and decided to change up my usual cream cheese frosting to put on top.  Normally, I whip together equal parts of butter and cream cheese and add just enough powdered sugar to make it slightly sweet.   This time, though, I wanted to tone down the cream cheese flavor just a bit so the vanilla could really be the star of the show.  Instead of throwing all the ingredients into the bowl at once, I decided to take a little more time and attention to detail.  After all, these were going to be birthday cupcakes for two special friends.  

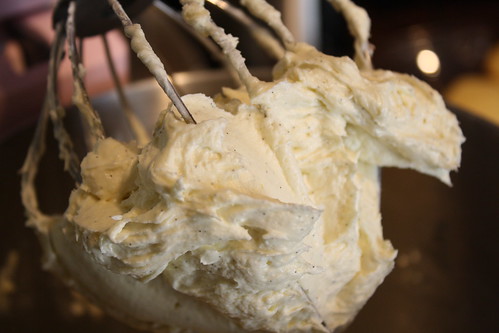
The result?  Light, fluffy, creamy and perfectly delicious vanilla cream cheese frosting.  So good that, when a big dollop fell on my kitchen floor, I almost scooped it up and ate it....almost.

Here's the recipe...

Vanilla Bean Cupcakes...and Vanilla Sugar

Vanilla beans make me so happy.  When I buy them, I feel like a little kid with a tiny treasure that needs to be guarded and saved for a special occasion. At the same time, I have to restrain myself from immediately thinking of dozens of recipes that I just have to make so I can use them.

IMG_0651


Two friends in my small group from church had a birthday recently and I volunteered to bring cupcakes to celebrate. With some extra time on my hands I really wanted to make these cupcakes special.   Hmm...sounds like a perfectly good excuse to bust out those vanilla beans!

Look at all those gorgeous seeds from the vanilla bean!
I then began my search for a good vanilla cupcake recipe.  First stop, my Martha cupcake book. Nope....didn't see anything that really seemed to fit the bill.  Next, visited my usual blog stops.  While I did find some tempting recipes there, I didn't find exactly what I was looking for.  I knew there needed to be buttermilk involved and I wanted the recipe to really feature a vanilla flavor and create a tender, moist cake.  I turned to my dear friend, Mr. Google.  

Bingo.  I stumbled upon this recipe from Annie's Eats, a blog I'd never visited before.  I could tell from first glance that this recipe was just right...and it was.  Oh, it was.


The result was a tender, slightly spongy cake with beautiful flecks of vanilla bean speckled throughout.  I knew it needed an equally delicious frosting, so I came up with this vanilla bean cream cheese frosting.  Delicious!


Yay for vanilla beans!!

For the recipe, visit this link on Annie's Eats blog.  For the icing recipe, you can find it here.

...oh, and don't even think about throwing away those vanilla beans once the seeds are scraped out.  (Sorry, did I use my teacher voice?)  Make vanilla sugar!  It's so easy...


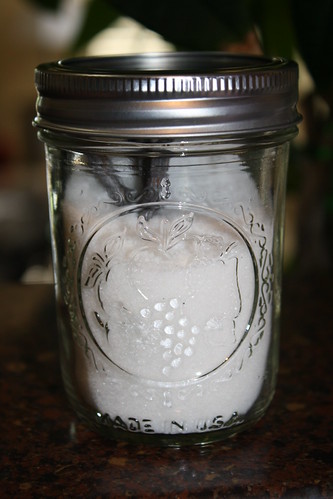
Just plop those vanilla beans into a jar (I had to slice them in half to make them fit) and then fill the jar with sugar.  Try to avoid spilling the sugar all over the floor, like I did.  Tighten the lid, give a little shake and then wait a few weeks.  You'll have vanilla flavored sugar that can be used wherever you'd use regular granulated sugar.  

Did I mention I love vanilla beans?