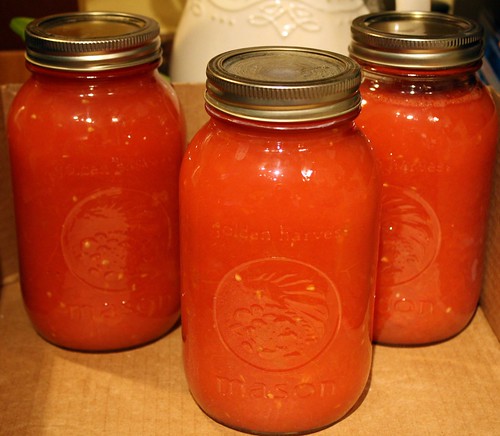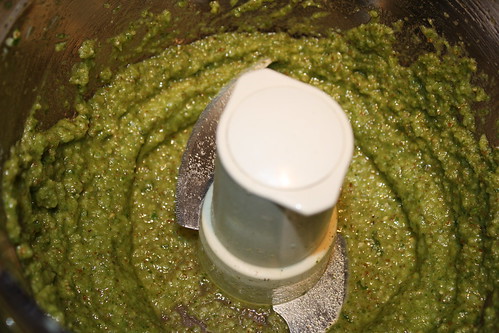
What's cooking? Here's a sneak peak of what you may find soon on the blog.

Showing posts with label summer. Show all posts

9.12.2010

My Favorite Two Quick & Easy Sauces


It's the beginning of a new school year, so I'm working really long hours and getting home feeling a bit bedraggled.  If I manage to cook anything at all right now, it's got to be quick and easy.  That's where my food processor comes in.


If you couldn't already tell, my food processor is the one kitchen gadget that I couldn't live without.  It is such a time saver and allows me to quickly whip up many of my favorite meals, including these two sauces: Basil Pesto and my "Ready in a Blitz" Roasted Tomato Sauce.


Pesto

I love, love, love pesto.  Each time I eat it, I'm reminded of a trip I took with my mom to the Liguria region of Italy (the region where pesto originated).  We were hiking through the beautiful "Cinque Terre" and ate pesto with fresh pasta at least once each day. We also ate lots of Nutella, but that's for a different post...
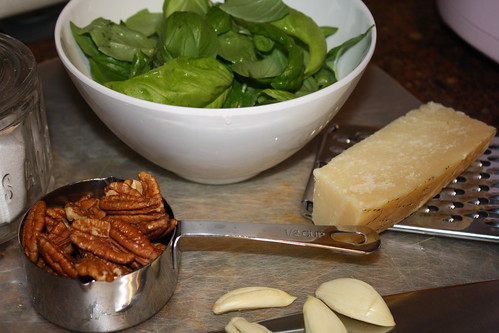


Pesto ("Genovese Pesto") is traditionally made with basil, pine nuts, garlic, salt and olive oil.  A hard cheese (like Parmesan) is also usually incorporated.  I pretty much stick to these ingredients, but one time a couple of years ago I was out of pine nuts. The only nut I had available was a bag of pecans in the freezer. So, I shrugged and tossed them in.  The result was so surprisingly good that I've used pecans in my pesto ever since.  
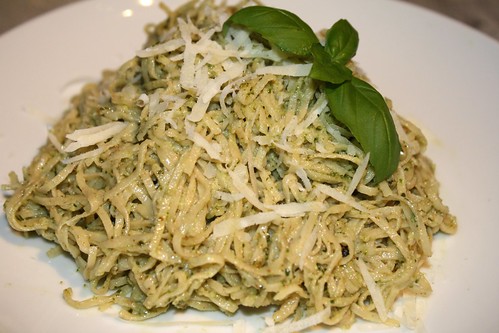

Pesto is one of those sauces that I've made so many times that I no longer need to measure anything.  I just toss in the amount that looks "right".  For those of you who need measurements, I've tried my best to include precise amounts below.  Feel free to make adjustments that match your tastes:

You'll need...
1/4 cup nuts (pine nuts, walnuts or pecans!)
2 cups packed fresh basil
1/2 cup grated Parmesan
3 cloves of garlic (plus or minus a clove, based on your taste)
1/2 tsp salt
1/4 tsp freshly ground black pepper
2 Tbsp olive oil

Directions...
Add all the ingredients (minus the oil) to the food processor.  Turn on the processor and stream in the olive oil while it pulses.  Process until smooth.  Taste and adjust seasoning if necessary.

Now, spoon over some pasta and pretend you're in Italy.  Buon Appetito!


Ready in a Blitz Roasted Tomato Sauce


I love the taste of roasted vegetables.  Roasting vegetables brings out a rich depth of flavor, caramelizing them and making them just plain really, really good.  Tomatoes and garlic are two of my favorites to roast.  If you decide to make this, hurry before the last of the summer tomatoes escape.  


I love this recipe for a work day because I can get home, prep the veggies in about 5 minutes and put them in the oven to roast.  Then, I can use the next 20 minutes or so to prep the rest of the dinner or set the table or just kick back and enjoy a glass of wine.   Before I know it...ding...the veggies are done and all I have to do is slide them into the food processor.  I simply pulse 5 seconds and...dinner's ready!


You'll need...
tomatoes (any amount)
onion (about 1/2 a small onion per 3 medium tomatoes)
garlic (to taste -- I like a 3 or 4 cloves per 3 medium tomatoes)

(+ any other veggies you have on hand that you think would be yummy.  I think carrots or shallots or red pepper would be nice.)

olive oil, for drizzling
salt + pepper, to taste
fresh or dried herbs (I usually use thyme and/or basil)

Directions...
Preheat the oven to 400.

Slice the tomatoes in half or quarters and place them on a sheet pan, covered in parchment.  Slice the onion into large chunks (roughly the size of the tomatoes) and place on the pan, with the garlic.  Drizzle olive oil over all the veggies and sprinkle with salt and freshly ground pepper.

Place the veggies into the oven and roast for 20-30 minutes, until browned and slightly caramelized. You may need to pull the garlic out early so it doesn't burn.

(Near the end of the roasting process, cook your pasta so it will be ready in time.)

Once roasted, slide all the veggies into a food processor, add herbs and pulse until a smooth sauce.  

That's it. Really!

8.18.2010

Corn Chowder

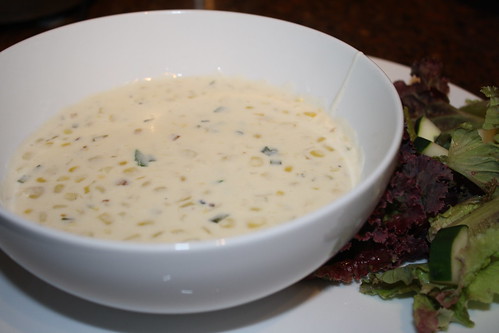
I really wish this photo did the chowder justice.   The green bits are fresh jalapeno - for a spicy twist.  

My return to work has reminded me that summer is, sadly, drawing to an end.  While I won't miss the excessive heat and humidity, I am going to miss entire days of doing whatever I please and, of course, the wonderful array of gorgeous produce that only comes around during these months of sweat and bad hair days.  Oh the vibrant reds and greens of summer veggies and berries the color of gemstones! And then there is sweet summer corn.

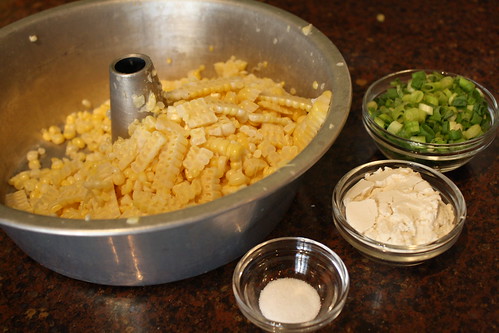
A bundt cake pan is the perfect tool for slicing the corn off the cob!  Just position the corn cob on the middle tube thingy (so technical) and, as you slice off the kernels, they'll fall into the pan.  ...Well, most of them will.  Only a few cheeky ones will hop onto your floor.


Sweet and simple -- corn is one of my favorite summer crops.   Lucky for me it's one of the most abundant summer veggies and one of the easiest to prepare.  I usually just boil it for a couple of minutes and eat it on the cob - no butter, no salt.   Just pure, sweet and tender corn.  So good.


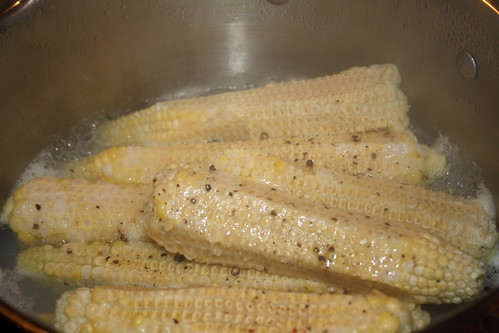
Once the kernels are removed, the cobs are boiled with a little s + p to make a broth for the chowder.
Once or twice each summer I go for something a little more decadent.  OK, a lot more decadent.  I make summer corn chowder. The flavors in this soup are so simple, but utterly delicious.   Oh, and the smell while it's cooking!!  The essence of summer fills your senses...without the icky heat and humidity.


I discovered this recipe a few years ago in what is now one of my favorite cookbooks, How to Cook Everything Vegetarian by Mark Bittman. (He also wrote How to Cook Everything).  I usually only buy cookbooks that are chock full of glossy photos.  This book is certainly an exception.  There are no photos, but this 1000+ page book contains an amazing array of recipes and illustrated "how to" guides.  If I only could have one cookbook, this one just might be my pick.

Here's the recipe.  Try this summer soup before the last of the sweet corn escapes...

8.11.2010

Summer Berry Cobbler

Not long after first meeting, my good friend, Ali, and I discovered that we both love to be in the kitchen. We'd talk excitedly about the great meals and desserts we planned to make and then would hash out all the "shoulda, coulda, wouldas" afterwards. At some point, it came about that we should (one day) open up a store front together. The exact contents of this hypothetical store have changed over the years. Sometimes we plan to make it a bakery, or perhaps a bookstore / bakery (so I can have story time) and other times it's a cupcakery. Lately, though, I've thought it should be a tea house so I can spend my days baking scones and pretending to be British.

This grand scheme of ours has taken a bit of a set back, now that Ali has recently moved 2,881 miles away (but who's counting?). Regardless, we still chat regularly about our latest kitchen adventures and baked goodies. Last week Ali told me about the berry cobbler she made, using berries from a local farmers' market. It sounded fabulous and so I asked her to share it here on my blog.

I can't wait to try it myself...
________________________

I am so excited to make my first contribution to Leslie's blog! Having a food blog is always something I have wanted and she so graciously has let me contribute to hers. I thought that I would post one of my favorite summer desserts, Summer Berry Cobbler. I love farmers markets and getting fresh produce, so when we went to the one at the Olympic Sculpture Park in Seattle, I found this gorgeous flat of summer berries. This recipe is an easy way to include all of these wonderful berries (plus the blueberries I already had in the fridge). I couldn't wait to get home and get started!

What is not to like about some freshly cut berries, cinnamon, lemon juice, and zest all mixed together?

Then to add more yumminess, (I hope that is a word) you dollop the berries with homemade scone mix. The original recipe has you put blueberries in the scone mix, but I liked it better without them.

Right before it gets ready to go in the oven... it already looks so good! The cook time says 25-35 minutes. I would go closer to the 35, since the scone mix can take a little longer to cook. When I've cooked it in less time, it has come out a little doughy, so just make sure that you cook it long enough!

All done and ready to eat! I like to make a little fresh whipped cream to top mine off. What a great addition to a summer day!

My daughter thought it was pretty tasty too! Here is the recipe, enjoy!

8.06.2010

Fresh Tomato and Brie Sauce

IMG_0784

Before marrying my roomie for life, I shared an apartment with my good friend, Gretta.  Let me take a moment to tell you just a few reasons why Gretta is so great.  First of all, she's very considerate and tidy, which are two of the best possible qualities in a roommate.  Second, she would eagerly watch Project Runway with me...and then be able to sketch and sew her own gorgeous dresses.  (She's designing and sewing her own wedding dress, for Pete's sake!!) Thirdly, Gretta used to make this tomato sauce...  


Yum
Oh, this sauce.  Tomato, garlic, basil and brie.  What's not to love?  


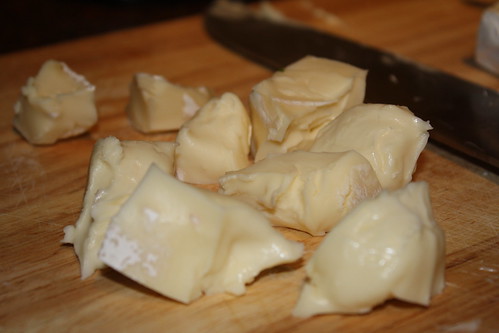
Super quick and easy, this sauce is a perfect summer meal. Seriously, you can have it on the table in about 15 minutes...20 tops.  The beauty of this sauce is that it requires no stove top cooking...apart from boiling some water for the pasta.  You simply whizz all the ingredients in a food processor and spoon it over hot pasta.  The pasta warms the sauce and slightly melts the brie.  Simple and delicious.


When we received 4 tomatoes in our CSA shipment on Tuesday, I looked at those summer beauties and thought to myself...Gretta's sauce!!  This recipe will give you yet another reason to love summer tomatoes, food processors and good roommates.


Disclaimer: I have to admit, I learned how to make this dish by snooping over Gretta's shoulder in the kitchen. Fortunately, she made it pretty often, so I had many opportunities to master the steps by watching.  I don't have an exact recipe or set of directions, but I'm going to try to quantify my "usual" steps for making the dish.  Rest assured, though, it has always turned out just fine no matter the exact proportions I use...so make it your own!


Here ya go...

7.30.2010

Tomato Juice "Stock"


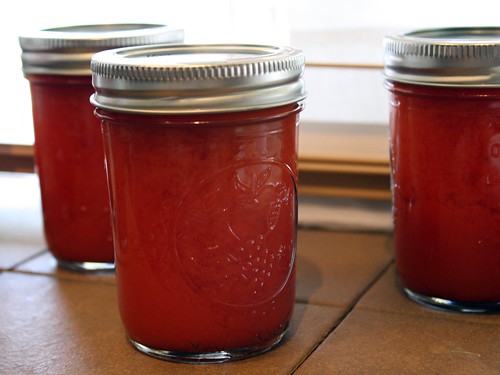
I promised I'd tell you what to do with your leftover tomato "guts" that came out of all those tomatoes as we were prepping to crush them.  I'm sure you were tempted to toss them out.  After all, they do look kind of gross.  It may not look like much at first, but it's definitely worth saving ...and look how pretty they are now in these little jars!


If you strain the juice it can be made into your own V8 type concoction.  I'm not really a fan of V8, but I do like to use tomatoes to add flavor to soups or to cook rice.  


This tomato juice "stock" can be frozen in an ice cube tray and then transferred to a freezer bag, or you can jar it and keep it handy for the next time you want to add some additional flavor to your favorite soup.


Here are the directions...

7.27.2010

Oven Dried Tomatoes

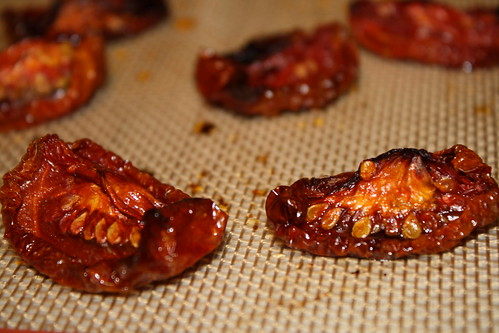
Don't you just love the concentrated burst of flavor in sun-dried tomatoes?  I know I do! For some reason, though, I don't usually cook much with them. Well, that's all about to change.  I found a tempting set of directions in one of my new cook books: Put 'em Up!: A Comprehensive Home Preserving Guide for the Creative Cook, from Drying and Freezing to Canning and Pickling by Sherri Brooks Vinton.  The result creates a slightly caramelized dried tomato that is just to die for.   I admit, I ate a small handful before putting the rest away in the freezer.  You could put these in the refrigerator if you plan to use them soon, but the freezer is the best bet for long term storage.  It helps to preserve the color and freshness of the tomatoes better than the refrigerator.
   

7.26.2010

Thank goodness for leftovers...and why I love thyme

At the end of my long canning adventure with the crushed tomatoes, I was lucky to have just enough left in the pot to make myself a much needed snack. 


To make a quick sauce, I grabbed a clove of garlic, a small shallot and a pinch of red pepper flakes for a little spice.  Out of my potted herb garden, I clipped a sprig of thyme and a few leaves of basil. 

Please allow me a moment to digress and explain why I love thyme.  Besides the wonderful taste that just oozes "Italian" to me, it's the perfect herb because it needs no chopping.  Just a pinch and a slide of the hand and it's perfectly sized to add directly to the sauce! 


Ok, back to the sauce.  

In the interest of not having to dirty another pot, I chopped the garlic and shallot and tossed them directly into the leftover crushed tomatoes.  With one slide of my hand, I could add the thyme directly into the pot. (Have I mentioned I love thyme?)  Then, in  goes the pinch of red pepper and a pinch of salt.  I let it all simmer for about 10 minutes, adding some of the reserve tomato juice from my earlier project when the sauce looked like it needed more liquid.  Near the end, I added some ribbons of basil (saving the rest to go on top) and voila!  

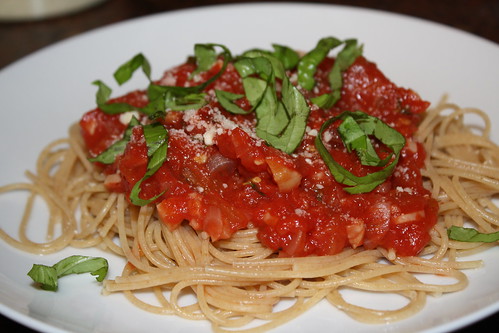
I spooned the sauce over some whole wheat angel hair pasta and topped it all off with a generous topping of basil and parmesan.  A quick and utterly delightful meal out of my left over crushed tomatoes.

Yum.

Project #1 :: Crushed Tomatoes (or, "Summer in a Jar")


I use A LOT of canned crushed and whole tomatoes.  They come in handy when I make my own sauces or soups.  The downside, however, is that all the acid in tomatoes causes the cans to leach BPA.  This is the main reason that I have been anxiously awaiting the onset of tomato season -- so I can jar my own tomatoes at the peak of perfection and avoid all those nasty hormone disruptors!  Unlike in my native Florida, tomato season in northern Virginia doesn't start to kick into full swing until the end of July.  So, it seemed like FOREVER until the time would arrive...but, at last, the waiting is over.

I arrived home from Stoneybrook Organic Farm Market in Hillsboro, VA with 53 pounds of organic tomatoes and the enthusiasm of a girl who had no idea what she was getting herself into.  Seriously, I don't recommend embarking on a canning adventure of this magnitude alone.  With my hubby in Denver, and my mom off to Florida the next day, I was left to tackle the tomatoes alone.

Day one was brutal -- 8+ continuous hours on my feet in the kitchen!  It was quite a messy, long learning experience.  (Did I mention I've never done this before?)  By day two I had learned from my mishaps and was able to organize the process to make it much more manageable.  Consequently, the entire process ran much more smoothly (and quickly!) and the results were what I'd hoped for originally.

I highly recommend recruiting a friend or family member to help if you decide to jar your own crushed tomatoes.  Either way, the directions for crushing and packaging your own bit of summer in a jar are continued after the jump...  Enjoy!